
How to Connect Your Website to an Email List — A Beginner’s Walkthrough
Connecting your website to an email list is one of the highest-return moves a small business owner can make — and it’s far simpler than most people expect. Social media followers can disappear overnight when an algorithm shifts. Your email list is yours. No landlord. No platform deciding who sees your posts.
The good news: you don’t need to be technical to set this up. Most modern email tools walk you through the process in under an hour. Once it’s running, your website quietly collects subscribers while you focus on everything else. This guide breaks it down into plain, step-by-step language so you can go from zero to a working signup form today.
Quick Answer
To connect your website to an email list, you need three things: a website, an email marketing tool (like Mailchimp or Brevo), and a signup form embedded on your site. Sign up for a free email tool, create a signup form inside it, copy the embed code or use the native integration, and paste it onto your website. The whole setup typically takes 30–60 minutes.
Why Your Website Needs an Email List
A lot of small business owners build a nice website and then… wait. Visitors come, look around, and leave — with no way to stay in touch. That’s a missed opportunity every single time.
When you connect your website to an email list, every visitor becomes a potential relationship. Someone browses your services page at 11pm, not quite ready to buy. If there’s a signup form — “Get our free pricing guide” or “Join for weekly tips” — they might leave their email. A week later, your newsletter lands in their inbox. That’s how browsers become buyers.
The other thing worth knowing: email is a direct, personal channel. And once someone’s on your list, you can reach them any time — no algorithm, no ad spend required.
Step 1 — Choose Your Email Marketing Tool
You don’t need a complex platform to get started. Two tools work particularly well for beginners: Mailchimp and Brevo. Both have free tiers, beginner-friendly signup form builders, and easy integrations with popular website builders.
Mailchimp
Mailchimp is the most recognisable name in email marketing, and for good reason — the interface is clean, the templates are solid, and the documentation is excellent if you ever get stuck.
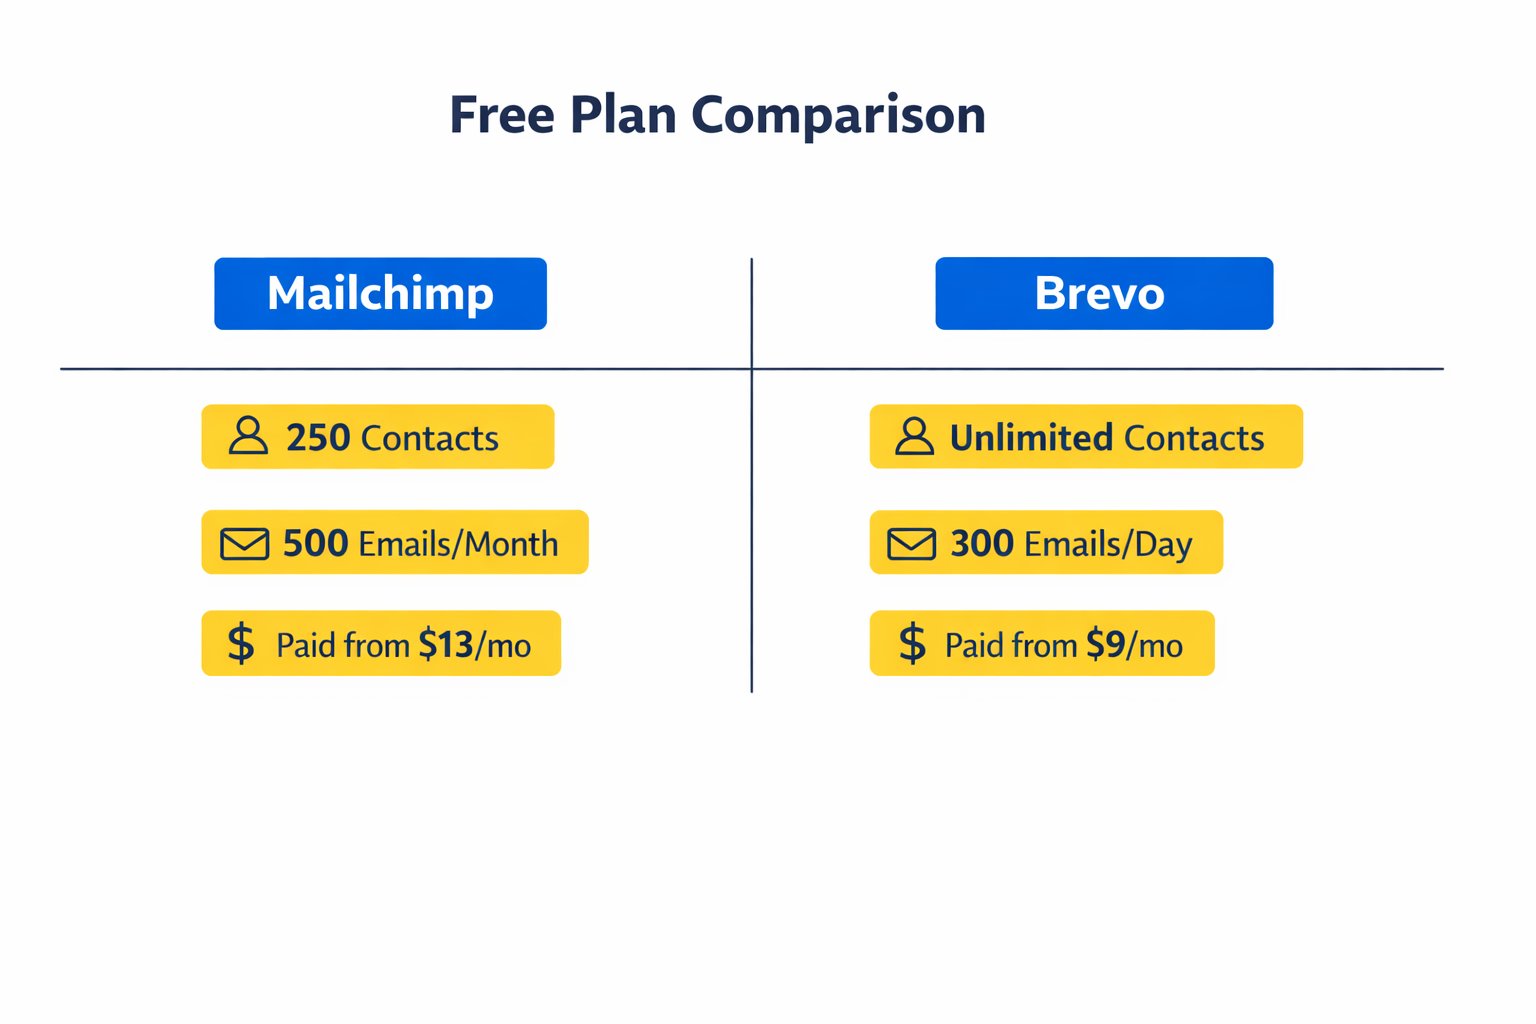
The free plan allows up to 250 contacts and 500 emails per month, with a daily send cap of 250. Mailchimp tightened these limits significantly in early 2026, so if you expect to grow your list quickly, this may feel restrictive sooner than you’d like. When you need more, the Essentials plan starts at $13/month. Check Mailchimp’s current pricing plans on their official site.
Best for:Absolute beginners who want a polished interface and plenty of tutorial support.Not for: Anyone expecting to grow beyond a small starter list quickly — Brevo’s free plan is considerably more generous at that stage.
Brevo
Brevo (formerly Sendinblue) takes a different approach: instead of limiting contacts, it limits daily email sends. The free plan gives you unlimited contacts and up to 300 emails per day (~9,000/month). That’s a genuinely useful free tier for most small businesses just starting out.
Paid plans start at $9/month for the Starter tier, which removes the daily send cap and unlocks higher monthly volumes. See all Brevo plan details on Brevo’s pricing page.
Best for:Businesses expecting to grow their list quickly, or anyone who finds Mailchimp’s contact limits frustrating.Not for: Those who prioritise a highly polished UI — Brevo’s interface is functional but slightly more utilitarian than Mailchimp’s.
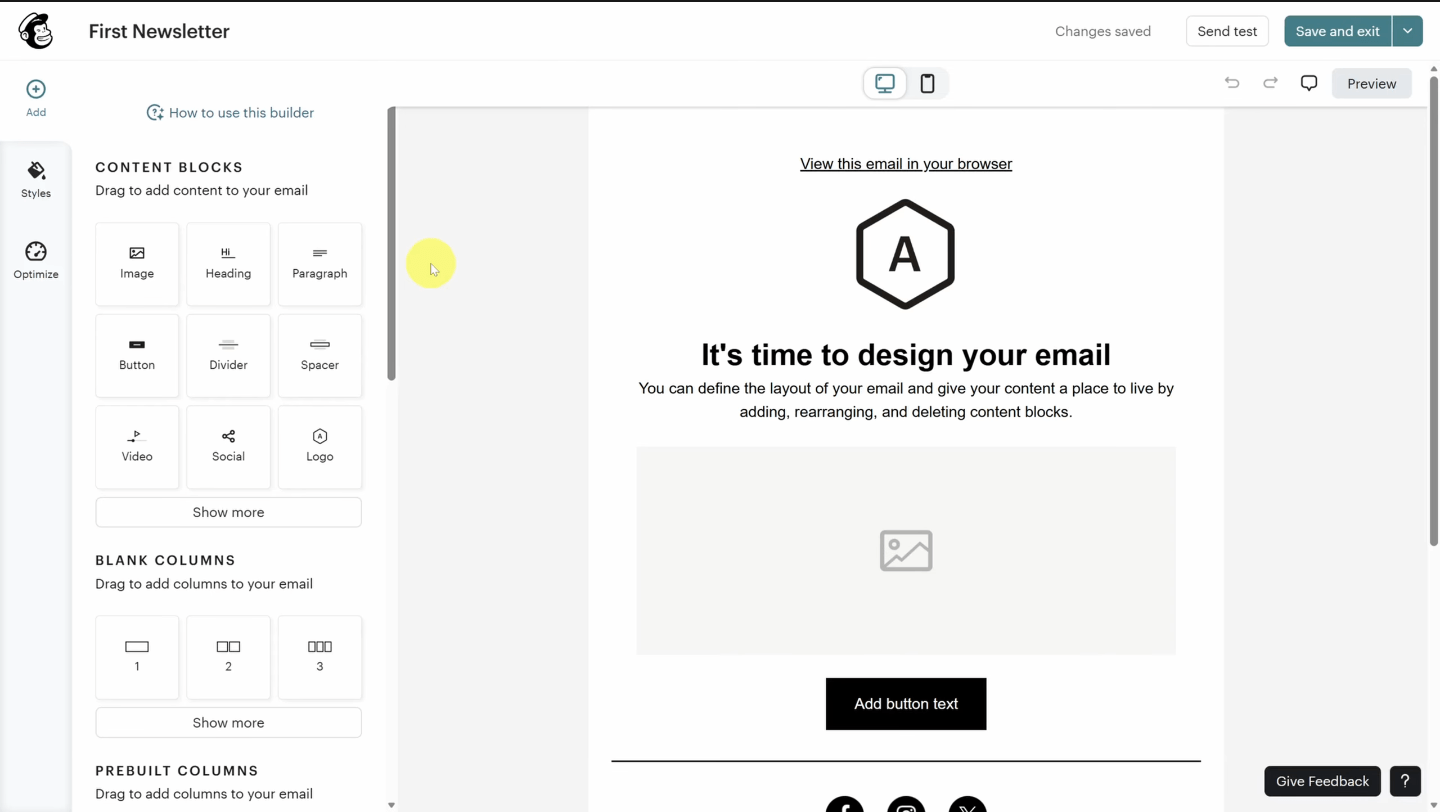
Step 2 — Create Your Signup Form
Once you’ve signed up for your chosen tool, the next step is building a form. Both Mailchimp and Brevo have drag-and-drop form builders that require zero coding.
Here’s what to do inside either platform:
- Go to the Forms or Audience section of your dashboard
- Choose “Embedded form” (not a popup — you can add that later)
- Keep it simple: ask for first name and email only — every extra field reduces signups
- Write a clear headline on the form: “Get weekly tips for free” beats “Subscribe to our newsletter”
- Copy the embed code that the tool generates — you’ll use this in Step 3
One thing to watch: both platforms will ask you to set up a “list” or “audience” first. This is just where your subscribers get stored. Give it a simple name like “Website Signups” and move on.
Step 3 — Add the Signup Form to Your Website
This is where it all clicks together. How you do this depends on what platform your website is built on.
If you’re using Wix, Squarespace, or Showit:Most modern website builders have native integrations with Mailchimp and Brevo. Look in your website builder’s “Apps,” “Integrations,” or “Marketing” section — you can often connect directly without touching any code.
If you’re using WordPress:Both Mailchimp and Brevo offer free WordPress plugins. Install the plugin, connect your account, and drag a signup form block into any page or sidebar. No embed code needed.
If you’re pasting the embed code manually:Go to the page where you want the form, find the HTML or code block section of your page editor, paste the embed code, and save. That’s it.
Where should you put the form?The three highest-converting spots are: your homepage (above the fold if possible), your footer (catches people who read all the way down), and a dedicated landing page you can link to from social media or ads.
If you want to go deeper on which website builders make this process easiest, the guide to the best website builder with email marketing integration covers exactly that — with side-by-side comparisons.
Step 4 — Test It Before You Go Live
This catches most people off guard: always test your own form before sending visitors to it. Fill it in with your personal email address, hit submit, and confirm that:
- You receive a confirmation email (if double opt-in is enabled)
- Your email appears inside your Mailchimp or Brevo dashboard under your audience/contacts
- The form’s thank-you message makes sense (“Thanks! Check your inbox.”)
Takes two minutes. Saves you from finding out weeks later that nobody’s been subscribed because of a broken integration.
Step 5 — Set Up a Simple Welcome Email
You’ve got the form live. Now give new subscribers a reason to feel good about signing up.
A welcome email doesn’t need to be fancy. One short paragraph introducing yourself, one sentence about what they can expect (weekly tips, special offers, behind-the-scenes updates), and a link to your most useful blog post or product page.
Both Mailchimp and Brevo let you set this up as an automated “welcome” email that fires immediately when someone subscribes — no manual work required after setup.
Quick Comparison
Quick reference — scroll horizontally on mobile, or click platform names to jump to full sections.
| Platform | Free Plan | Starting Paid Price |
|---|---|---|
| Mailchimp | 250 contacts / 500 emails/month | $13/month |
| Brevo | Unlimited contacts / ~9,000 emails/month | $9/month |
Common Mistakes to Avoid
1. Asking for too much information on the formMany business owners add phone number, company name, and job title to the signup form. Each extra field cuts your conversion rate. First name and email is almost always enough. Add more fields later only if your business genuinely needs them.
2. Skipping the welcome emailEasy to overlook when starting out — you set up the form and move on. But a new subscriber who hears nothing from you for two weeks will forget they signed up. A single automated welcome email keeps that connection warm from day one.
3. Using a vague call-to-action“Subscribe to my newsletter” is one of the weakest form headlines you can use. Be specific: “Get 5 free tips for booking more clients” or “Join 300+ small business owners getting weekly website advice.” Tell people exactly what they’re signing up for.
4. Not checking the form on mobileA form that looks great on desktop can be cramped or broken on a phone. Preview your page on mobile before publishing — most website builders have a one-click mobile preview button. This is easy to miss when you’re excited to launch.
5. Forgetting to comply with GDPR or local email lawsIf your audience is in Europe (or anywhere with privacy regulations), your form needs a visible consent checkbox and a link to your privacy policy. Both Brevo and Mailchimp have built-in consent fields you can enable directly in the form builder — no developer needed.
Next Steps (Do This in the Next 24–48 Hours)
- Sign up for Mailchimp or Brevo today — both are free to start, no credit card required. Brevo is the stronger pick if you expect your list to grow beyond a few hundred contacts quickly; Mailchimp works well if you want the most beginner-friendly interface and are starting very small.
- Build one simple embedded form — first name and email, a clear benefit-led headline, and a thank-you message. Embed it on your homepage and in your footer.
- Write and activate a welcome email — keep it under 150 words, be human, and include one useful link. Set it as an automated trigger so it fires the moment someone subscribes.
If you’re still deciding which website builder to use alongside your email marketing setup, start with the guide to the best website builder for small business — it covers the builders that make email integrations the most seamless.
FAQ
How long does it take to connect a website to an email list?
For most small business owners using a modern website builder like Wix, Squarespace, or WordPress, the full setup — choosing a tool, creating a form, embedding it, and writing a welcome email — takes between 30 and 60 minutes. Both Mailchimp and Brevo have detailed step-by-step help documentation if you hit any snags along the way.
Do I need to pay to start an email list?
No. Both Mailchimp and Brevo offer free plans with no credit card required. Mailchimp’s free tier covers up to 250 contacts and 500 emails per month. Brevo’s free plan allows unlimited contacts and up to 300 emails per day (~9,000/month). You can build and grow a real list without spending anything until you need higher send volumes or advanced automation features.
What’s the difference between Mailchimp and Brevo for beginners?
Mailchimp has a slightly more polished interface and is the more recognised brand — great if you want lots of tutorials and community help. Brevo’s free plan is far more generous on contacts (unlimited vs. Mailchimp’s 250) and costs less when you upgrade ($9/month vs. $13/month). If you expect your list to grow beyond a small starter audience, Brevo is the more practical long-term pick.
What should I offer people to get them to sign up?
The most effective approach is a clear, specific value exchange: a free checklist, a short guide, an exclusive discount, or a promise of genuinely useful regular content. Generic “subscribe for updates” buttons convert poorly. Think about one specific problem your ideal customer has and offer a small, immediate solution in exchange for their email address.
Does my website builder affect which email tool I can use?
Most popular website builders — Wix, Squarespace, Shopify, WordPress — integrate directly with both Mailchimp and Brevo. If your builder doesn’t have a native integration, you can always use the manual embed code method: paste the HTML form code into any code or HTML block on your page. It works on virtually every website platform. For a deeper look, see the guide to the best website builder with email marketing integration.
Is it legal to collect emails on my website?
Yes — as long as you follow a few simple rules. Be transparent about what subscribers are signing up for. Include a link to your privacy policy near the form. In Europe, add a visible consent checkbox (required under GDPR). Both Mailchimp and Brevo have built-in tools to help you stay compliant, including double opt-in settings and consent field options directly in their form builders.
What is double opt-in and do I need it?
Double opt-in means a new subscriber has to confirm their email address by clicking a link in an automated confirmation email before they’re added to your list. It results in a slightly smaller list, but a much higher-quality one — people who confirm are genuinely interested and far less likely to mark your emails as spam. It’s worth enabling, especially if your audience is in Europe.